
Learning
Garden Stories
Start seeds while you stay inside
Looking for fun projects to do indoors? Here’s one with a great return: start seeds. It’s easy to do, whether you want to start seeds on a sunny windowsill or in a more formal arrangement. The great thing about starting seeds indoors is that it is relatively inexpensive—and who can resist the satisfaction of watching those first sprouts spring to life?
To get started, let’s go over the basics. Important requirements for any seed starting are time, light, a growing medium, cleanliness, water, and attention.
Time is critical. Some species need weeks longer than others. Tomatoes, for example, need just six to eight weeks indoors while it is already too late for others. It's a great time to start broccoli, peppers, and brussel sprouts. Check the timing before you buy, and use the seed packet information to lay out your timeline.
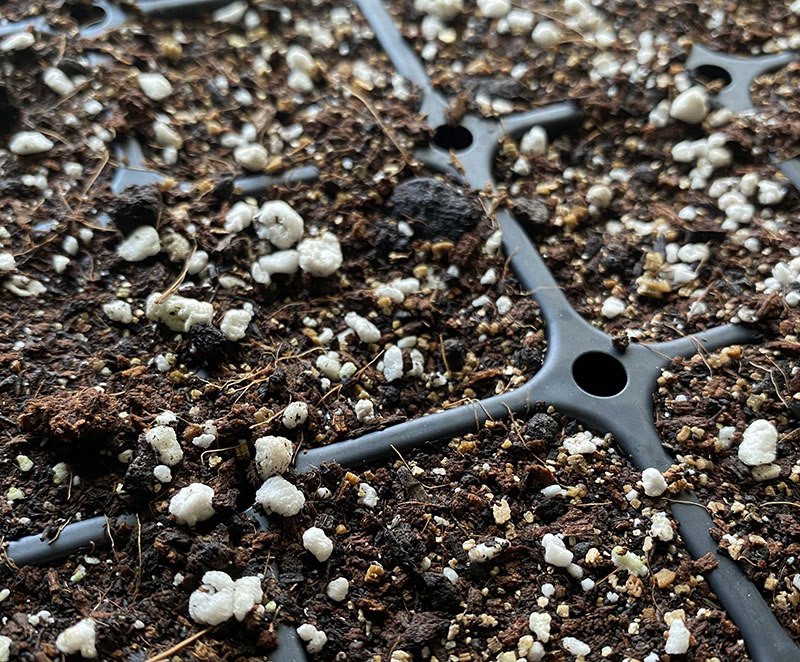
Start with a sterile starting mix.
Light can come from a sunny window if you are only starting a handful of seeds. Larger numbers will require artificial lights. The lights don’t need to be fancy or expensive, though; a couple of standard fluorescent tubes in a utilitarian shop light works fine, if the fixture is hung on chains with S-hooks so its height can be adjusted. Start with the lights 4 inches above the surface of your pots and raise as the plants grow. A lamp timer can turn the lights on and off; they will need to be on about 16 hours a day.
The growing medium anchors the roots and holds water. Make sure the medium is porous enough to drain very well and allow the delicate roots to find their way between its particles. Potting mix is generally too dense; it's better to buy a sterile seed-starting mix.
The mix must be sterile because cleanliness is crucial. New seedlings are very vulnerable to disease. You can start seeds in anything that will hold a cup or two of soil, as long as those containers are clean: cell packs from last year, yogurt cups with holes poked in the bottom or special seed-starting flats. The containers should be sterilized by dipping in a solution of 1 part bleach to 10 parts water.
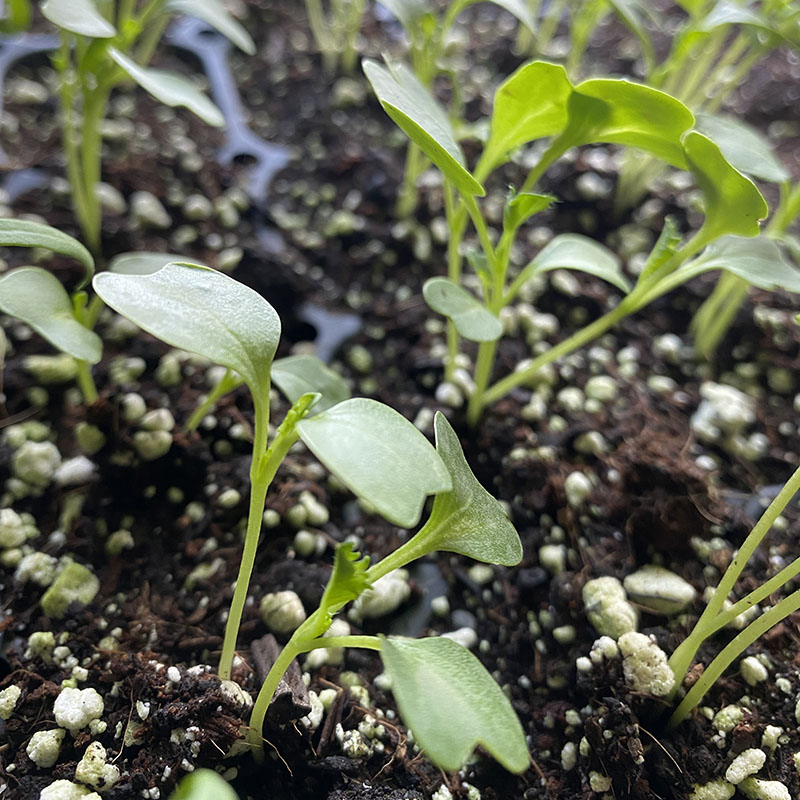
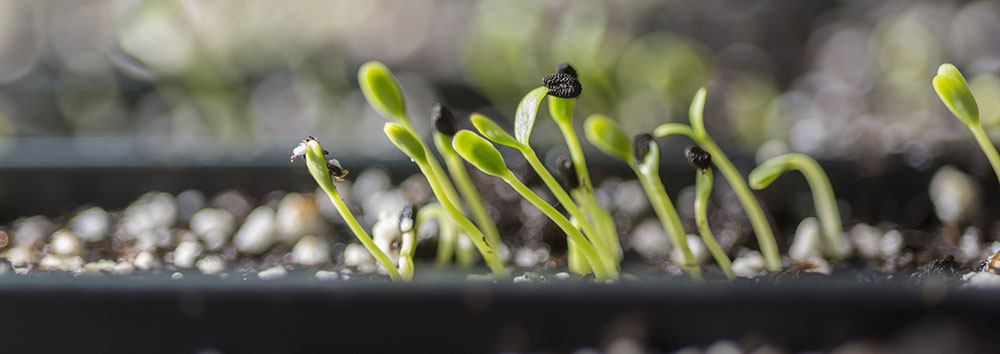
Tiny seedlings need special care.
Water is essential for the whole life of any plant. The mix should be moist when you fill the containers and sow the seeds. Mist the surface of the mix gently with a spray bottle and cover the containers with a plastic dome or tent them with a plastic bag to hold in humidity until the seeds germinate. Set the containers in a warm place, such as on top of the refrigerator or above (not touching) a radiator. Peek daily, and when you see green sprouts, remove the cover so the plants are open to the air. You can then place them under lights or in the sun.
Seedlings need daily attention. Read the packet directions carefully to learn how deep to plant the seeds and whether they need light to germinate. You'll want to label the containers precisely, with their variety name and the date you sowed. Since seedlings can quickly dry out and die, check often to keep the mix evenly moist but never sopping (bottom-watering often works best). A few weeks after starting, give the seedlings one application of a very weak solution of all-purpose fertilizer, but don’t overdo it.
Ready, set, seed! For even more resources, check out this handy seed viability chart to learn the average shelf-life of your seeds. Happy sowing.