
Plants &
Gardening
Garden Stories
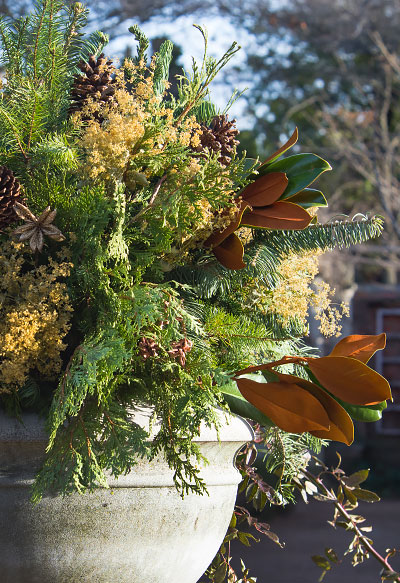
How to Create a Winter Container
I love my container gardens in the growing season, but what’s the best way to brighten your doorstep for the longest season of all: winter? The answer is the easiest kind of container gardening, even for the black thumbs among us. The key is knowing how to create a harmonious design that doesn’t blow over in winter’s first blizzard. I attended a winter containers class at the Garden and this is what I learned:
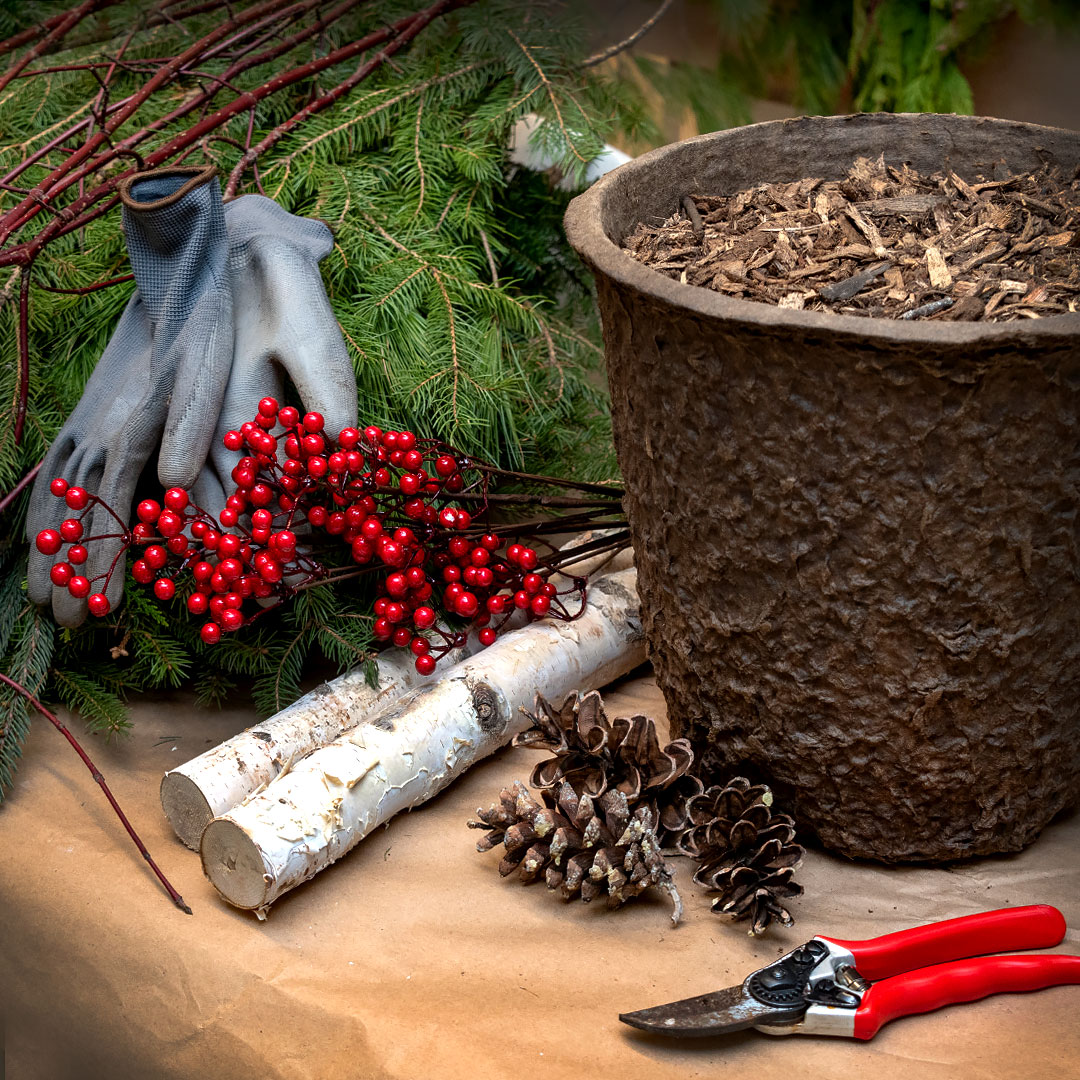
Materials needed:
- Winter-hardy container: plastic or fiber container and wood mulch for filler
- A variety of winter greens: balsam fir, white spruce, white pine, western red cedar
- Colorful branches: white birch, red twig dogwood, winterberry (artificial)
- Embellishments: pine cones
- Tools: floral wire, pruners, garden gloves
Step 1: Fill container with wood mulch to weigh your container down so it won’t blow over in the wind and to hold the branches in place.
Step 2: Place birch branches in wood mulch, and dig down to stabilize branches.
Step 3: Cut greens to desired height for container. Add upright stems of fir and spruce first, then fill in with pine and cedar.
Step 4: Add dogwood and winterberry last. Artificial winterberry will last through the season, but real berries break off or can get eaten by birds.
Step 5: Wrap floral wire around pine cones and attach the other end to your greens for a natural look.
Step 6: Add battery-powered string lights as a finishing touch, if desired.