
How-to
Garden Stories
Easy Vermicomposting for Beginners: Part 1
Are you looking for an easy way to help the planet? Consider composting your food waste. Composting with worms, also known as “vermicomposting,” can be an easy and fun project for your whole family that also teaches children about nature’s cycles.
Why compost?
Reducing the volume of your garbage is good by itself. Removing food from the waste stream is especially beneficial because food buried in a landfill causes production of methane gas and contributes to greenhouse gases in the atmosphere. When done correctly, home composting enables air circulation around the decomposing matter, so food break downs without contributing to climate change.
There are many online videos instructing how to start vermicomposting. They are informative but can be confusing because they show many different variations and much more information than you need to get started. Below are simple directions with minimal explanation so you can set up a worm bin with easily obtainable materials. Part 2 blog post will provide directions for regular maintenance and problem-solving. Part 3 will explain how to harvest worm castings and what to do with the “black gold.”
Let’s get started!
What you need
- A rectangular, dark-colored, plastic container that can hold at least 10 gallons with lid; base should measure at least 12 x 18 x 6 inches, but ideally 18 x 24 x 12 inches or larger
- A bucket of water
- Any or all of the following paper items: newspaper, scrap office paper, cardboard boxes, paper towel tubes
- 2 cups of soil from your yard
- 6 or more eggshells (optional, but very good for the system)
- 1 cup of vegetable scraps
- 1 pound of red wiggler worms (about 1,000 worms) available at pet stores or online; you will prepare the container first, then wait one week before adding the worms; IMPORTANT: only use red wiggler or red worms—see message about worms below
- A spray bottle is helpful
Prepare your materials
- Fill a bucket with water and leave it out for three to four days to release chlorine
- Drill 1/4-inch holes in the top 2 to 3 inches of the plastic container to provide ventilation; do not drill any holes in the bottom or on the lid
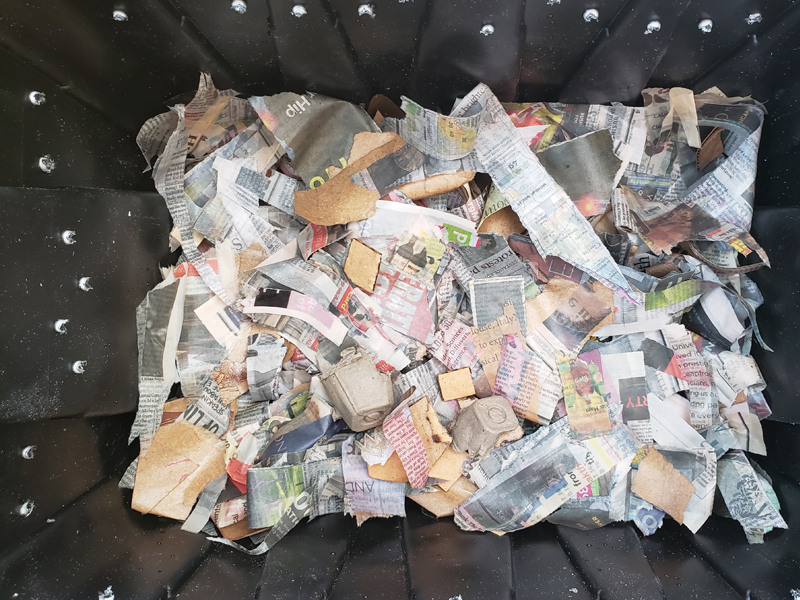
- Shred newspaper and other waste paper into thin strips; cut or tear cardboard into 1- to 2-inch square pieces, cut paper tubes into 1/2-inch sections; you will need enough paper bedding to fill half the container
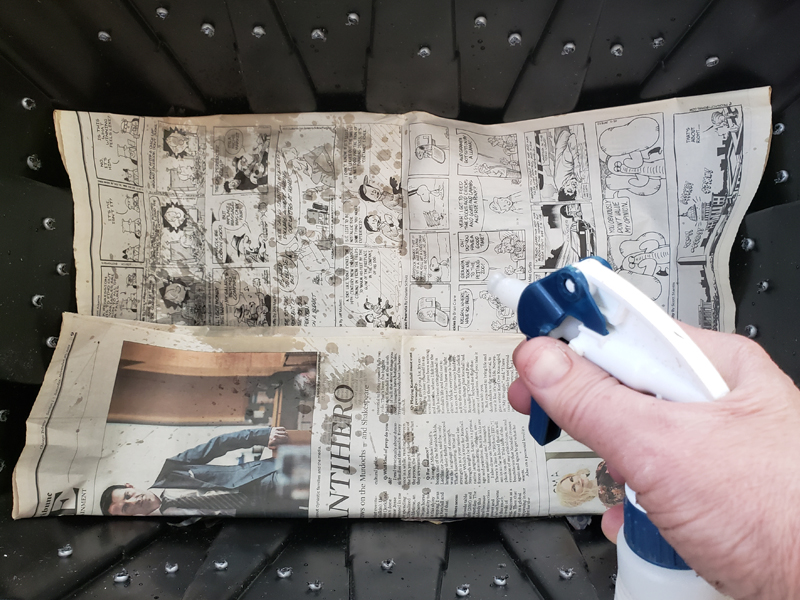
- Keep a few whole sheets of newspaper or paper towels that you will use to blanket the top of the worm bedding
- Put eggshells in your food processor and pulverize to a powder (this is optional); just like with most fine powders, avoid breathing powdered eggshell dust
- Cut up fruit and vegetable scraps into small pieces; do not include citrus peels, onions, garlic, or hot peppers
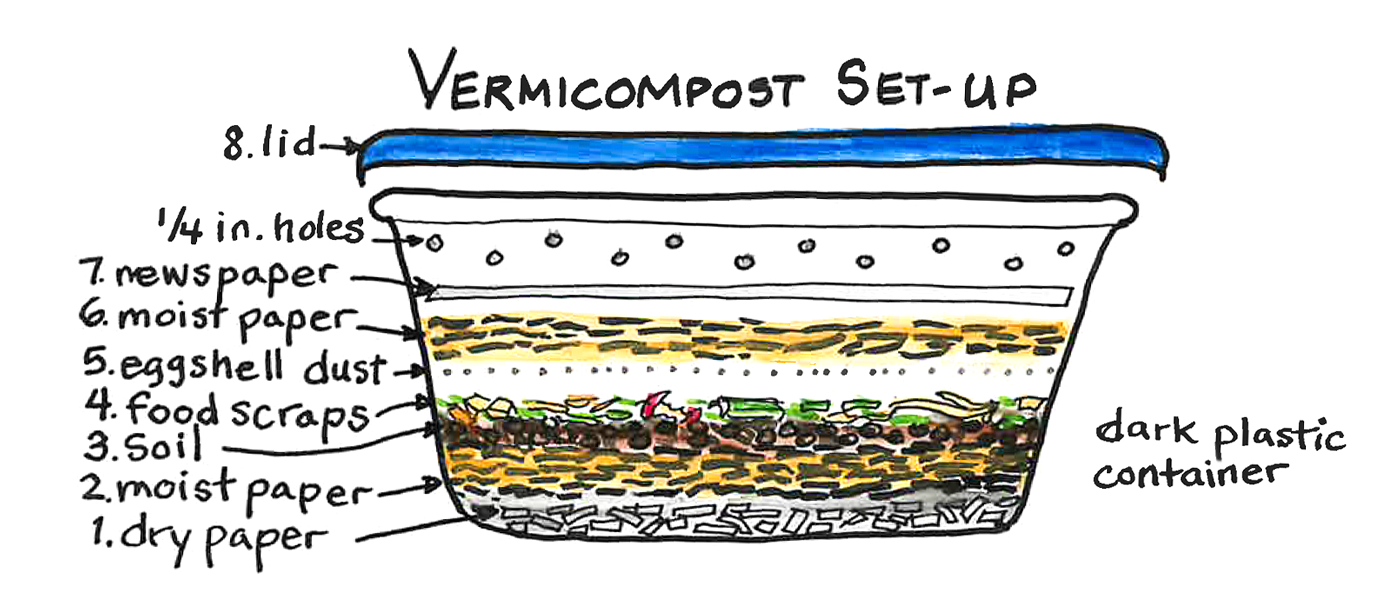
Directions
- Place half of the shredded paper and cardboard into the bucket of water and allow it to soak for 10 minutes. While the paper is soaking, place a 1-inch layer of dry paper bedding on the bottom of the container. This will provide air pockets under the worms.
- Remove paper from the water and squeeze out the excess water so that the paper feels like a damp sponge. Break pieces apart and spread most of it on top of the dry material.
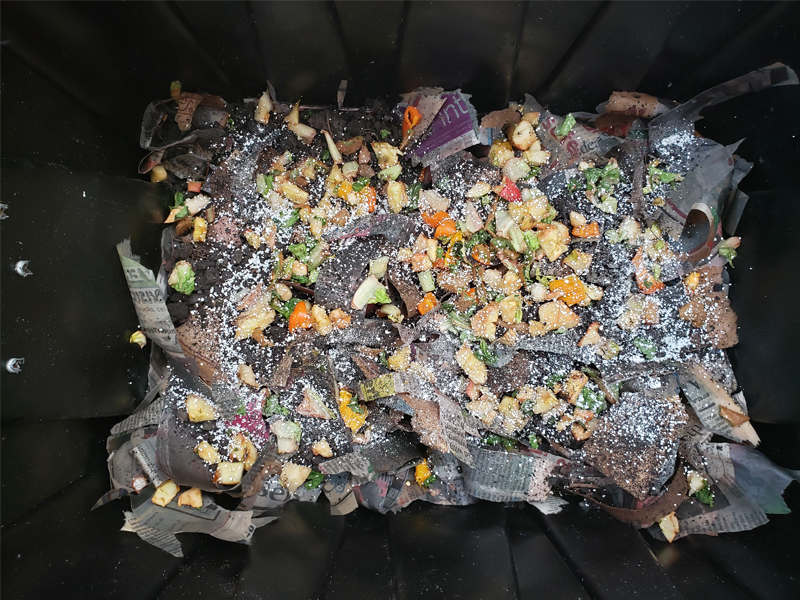
- Sprinkle the garden soil on top of the wet paper bedding.
- Spread the vegetable scraps on top of the soil.
- Carefully pour the powdered eggshells on top of the food scraps, avoid breathing the dust.
- Spread the remaining wet bedding over the food scraps.
- Cover the entire top surface with two to three sheets of damp newspaper or paper towels.
- Put the lid on the container and place it in a low-lit location that is consistently between 50 and 80 degrees Fahrenheit. Leave it alone for one to two weeks.
- Remove the top cover of newspaper. Gently spread the worms over the surface of the bedding. Allow them 10 – 15 minutes to burrow down into the bedding. Cover with the newspaper, and spray or moisten it if it is dry.
- Put the lid on the container, return to the low-lit location, and leave it for a week.
- Watch for Part 2 to find out what to do next!
About Worms
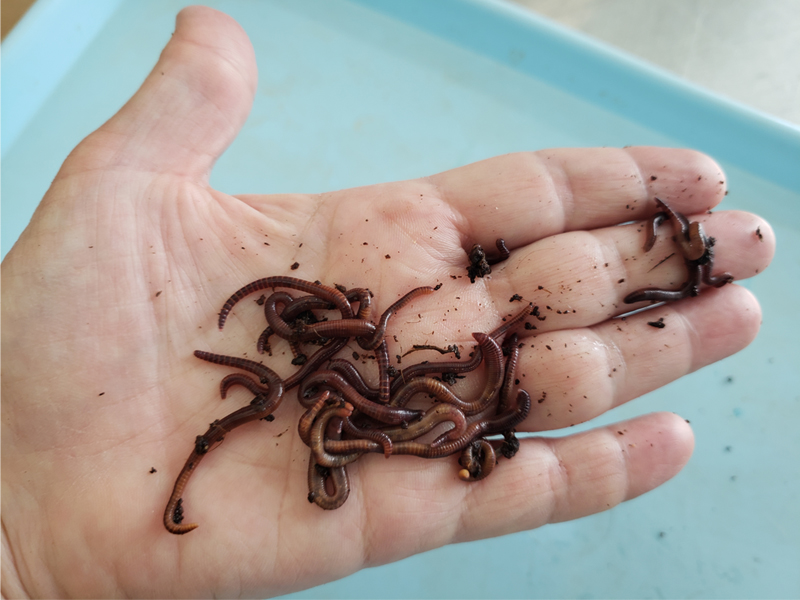
There are many different kinds of worms. The worms used for composting are called red wigglers—scientifically known as Eisonia fetida. Other common names are red worm, tiger worm, and brambling worm. Red wigglers are the favorite for composting because they live in the top few inches of the ground and they can consume their weight in decaying material every day.
You may be surprised to learn that red wigglers and the earthworms in your yard are not native to North America, but were brought here from other continents. Some worms have naturalized in the area and are mostly beneficial to the soil. Other kinds of worms, like jumping worms, are invasive and are causing problems the forests of Illinois. You can help the Earth by keeping your red wigglers in the container and not releasing them in the ground.