
The good news is that they’re all easy to grow. If you have a spot that gets at least six to eight hours of direct sun in the summer, now’s the time to start planting.
“We have grown 'Purple Peruvian' and 'French Fingerling',” says Lisa Hilgenberg, horticulturist in the Regenstein Fruit & Vegetable Garden. “'Red Norland' is scab-resistant and productive. And 'Rose Finn Apple' is a delicious fingerling that’s as appealing to look at as it is to eat.”
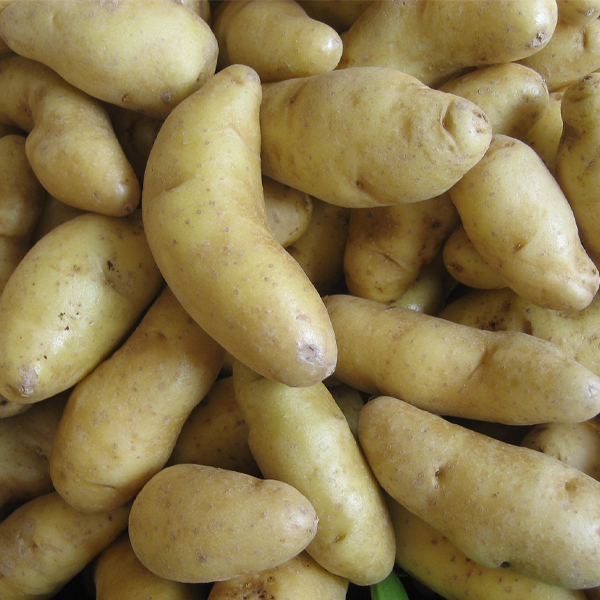
(Solanum tuberosum 'Russian Banana') photo via Wikimedia Commons by Foodista [CC BY 2.0]
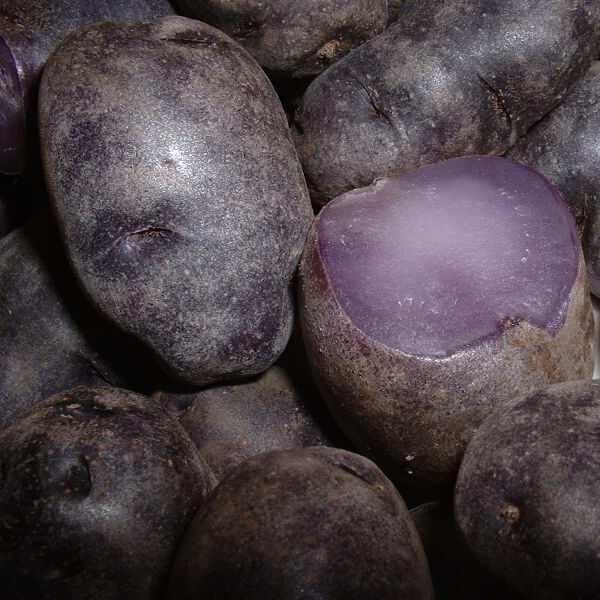
(Solanum tuberosum 'Purple Peruvian') photo via Wikimedia commons [CC BY 2.0]
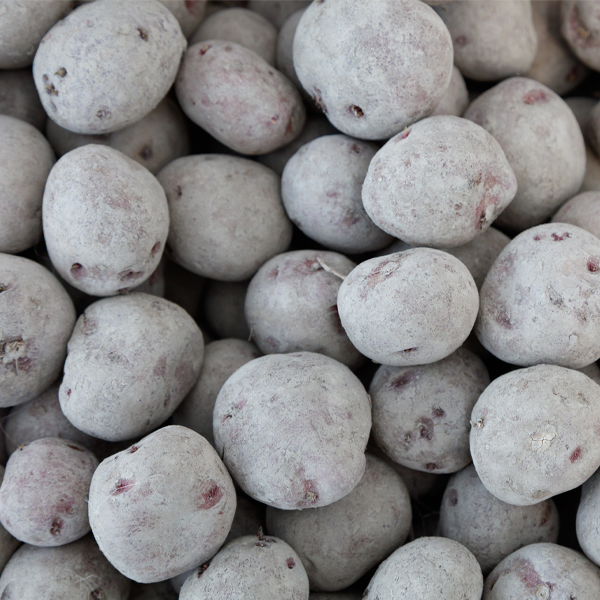
Red Norland Potato
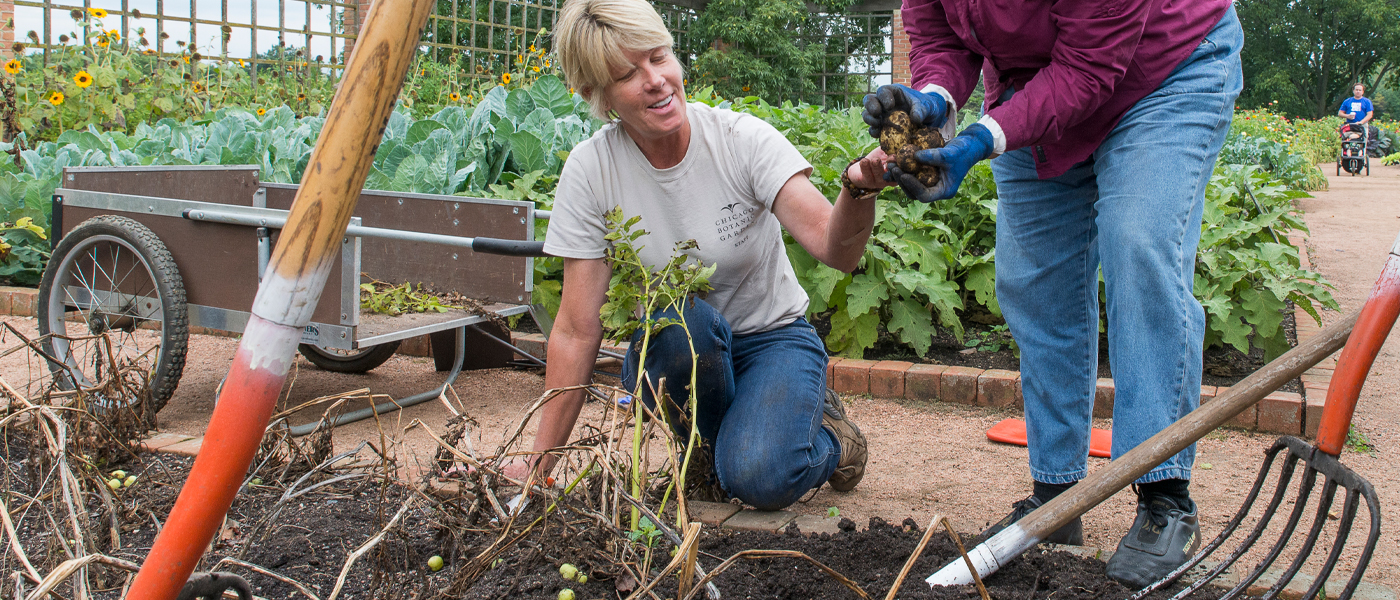
The Garden has featured potatoes for about a decade. “We harvest about 40 to 50 pounds per variety,” Hilgenberg says. That 40- to 50-pound harvest is the result of planting about 5 pounds of “seed” (small) potatoes in spring. In 2014, Hilgenberg planted 15 different varieties using different planting techniques. “You can grow potatoes in containers, fiber planting bags, or raised beds.” Fingerling potatoes may yield from 15 to 20 times the amount originally planted while standard potatoes yield about 10 times the amount.
Starting Out
“Some people plant potatoes in early April, but the sprouts can be frost-damaged,” Hilgenberg says. “I prefer to wait until about May 1 when the soil is dryer and warmer.”
Potatoes are grown from “seed” potatoes—small tubers with “eyes” that sprout leaves. (If you’ve ever had an old potato in your kitchen that’s sprouted, the sprout comes from the eye.) Small tubers can be planted whole, while larger tubers are cut into small pieces. Each piece should have at least one or two eyes. Let the cut seed potatoes dry for a few days before you plant them. This allows the potato to form a callus and reduces the chance of rotting once it’s in the soil. Seed potatoes are available at local garden centers and online.
“Don’t use grocery store potatoes—you’ll have better luck buying seed potatoes that are certified as disease-free,” Hilgenberg says.
Planting Methods
Potatoes grow best in fertile, well-drained soil. Before planting the seed potatoes, dig in compost, finely chopped leaves, and other organic amendments to “lighten” the soil, especially if it’s mostly clay. If you’re growing potatoes in pots or grow bags, use a soilless potting mix intended for vegetables (not heavy topsoil).
Hilgenberg grows potatoes in trenches and hills. After digging a long trench about 12 to 18 inches deep, set the seed potatoes in the bottom of the trench 12 inches apart, in rows 30 to 36 inches apart. Cover the potatoes with 2 to 3 inches of soil. Shoots emerge in about 14 days. When the plants are 6 to 8 inches tall, “hill” them by mounding soil from each side of the trench about 4 inches high along the base of the plants. Repeat the hilling process as plants grow. This method protects the tubers from turning green (which is toxic) and provides plenty of space as tubers develop.
If you’re planting in a container or fiber bag, the pot should be rated to hold 15 gallons. Fiber grow bags allow excess water to drain away, but other pots must have drainage holes. Place about 4 inches of soilless potting mix in the bottom and set about eight seed potato pieces on top. Cover them with another 2 inches of soilless mix. As the leaves begin to grow, add another inch or 2 of potting mix so the top leaves still show. This allows more potatoes to form in the soil. By the end of the growing season, the pot should be filled with tubers.
Grower's Tips
Potatoes aren’t difficult to grow. “There are three important things,” Hilgenberg says. “Timing—plant around May 1. Crop rotation—use long rotations to avoid repeating Solanaceous crops (potatoes, tomatoes, eggplants, or peppers) in the same garden space for four years. And mulch. Straw mulch can significantly reduce problems with potato beetles, which are common pests.”
One way to control disease is to provide fertile soil and consistent moisture (water every seven to ten days) and rotate the crops each year. If you grow potatoes in the ground or raised beds, try to plant them elsewhere in your garden each year. “Potato beetles and diseases can overwinter in the soil and the next potato crop can be infected,” Hilgenberg says. She recommends following a crop of potatoes with one of beans.
Place lightweight “floating” row covers, available in garden centers and online, over potato foliage to exclude insect pests such as Colorado potato beetles, aphids, and leaf hoppers. Row covers let the sunlight and water in. Check the undersides of the leaves for yellow-orange eggs of potato beetles and crush them.
Harvest potatoes in the fall once the plants have nearly completely died back.
Harvest
You can harvest young or “new” potatoes any time after they reach a usable size (typically 50 days after planting for early varieties). “When you see the plants begin to flower, you can start harvesting them,” Hilgenberg says.
When the leaves turn yellow or die, stop watering and leave the potatoes in the ground for two more weeks. This allows the tubers to set the potato skins for storage. To harvest all of the tubers, use a spading fork and gently lift the entire root system. Shake the excess soil from the tubers. For potatoes grown in pots or grow bags, tip them onto a tarp or newspaper and lift out the tubers.
Storage
Brush loose soil off the skins and let them dry for a day or two and brush them once more. If you wash the soil off, there’s a chance the wet potatoes will rot when stored. Potatoes can turn green when exposed to light so keep them in a dry, dark, cool place. That’s if you don’t eat them all in a month!
Nina Koziol is a garden writer and horticulturist who lives and gardens in Palos Park, Illinois.