

Smart Gardener
Growing Herbs and Salad Indoors
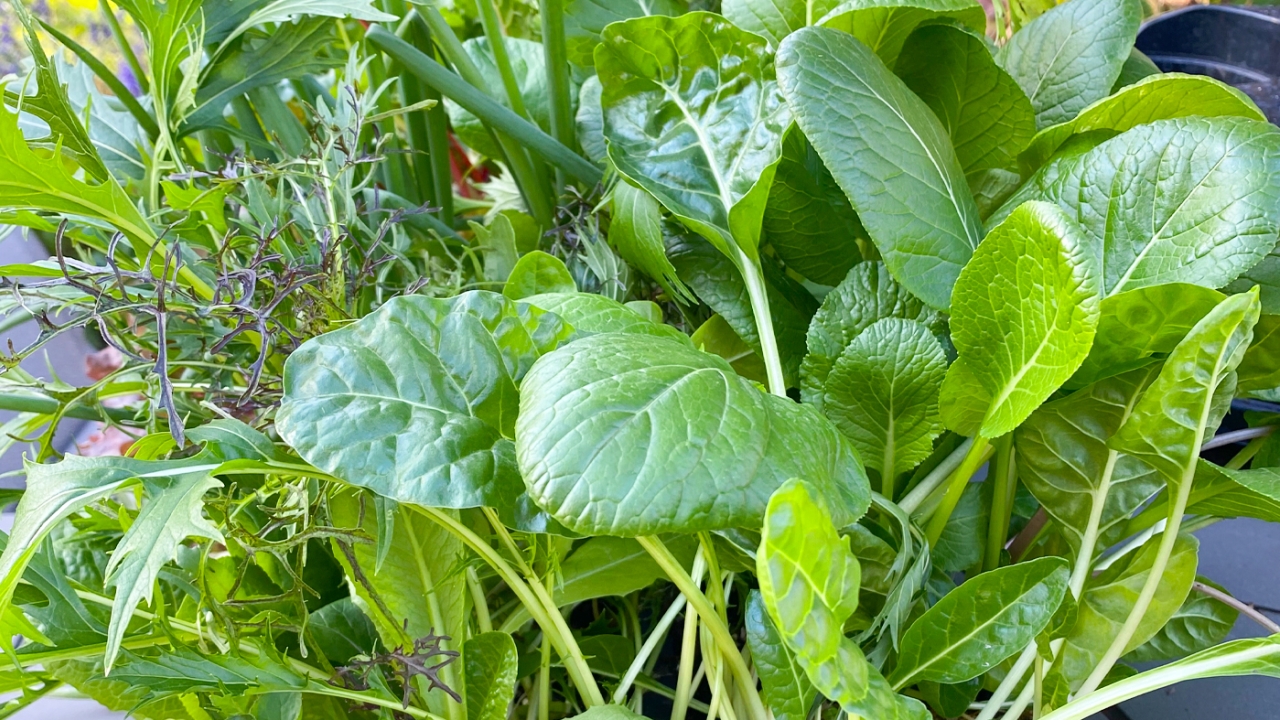
October was a month of friendly weather, with warm sunlight, cool air, and seemingly endless blue skies. But as we settle into the middle of autumn, the weather will soon become increasingly cold. What could be more delightful now than growing a few fresh herbs and some salad greens indoors? Growing parsley, cilantro, and basil on a sunny windowsill or under grow lights is an opportunity to enjoy fresh herbs while nurturing a few pots filled with fragrant foliage. Add leaf lettuce, spinach, Swiss chard, mustard greens, or kale plants and you’ll be on your way to some fresh salads this winter. It’s easy and rewarding.
Get Growing
There’s something special about looking out the window on a gray day, perhaps when it’s raining or the snow is falling, while I tend to my indoor “farm”. Sown from seed, leafy greens and annual herbs quickly sprout. Tending these edibles through the winter months is a real treat. Here’s what you’ll need (available at garden centers and online):
Seeds
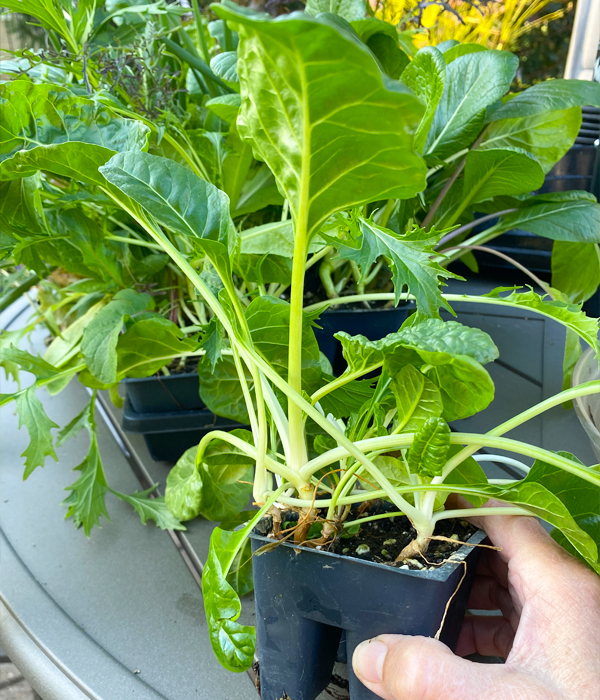
Lettuce, spinach, and basil are some of the easiest and quick-to-harvest greens you can grow indoors. Except for chives, I find it easier to grow annual herbs from seed rather than perennial woody types like rosemary and sage. And, by using only a third of each packet of seeds when I start, I can continue sowing through late winter for a prolonged harvest.
First, you’ll need a few seed packets—choose what you like to eat. For herbs, look for seeds of basil, parsley, and cilantro. You can also buy potted herbs in most local produce sections if you’d like to grow them indoors. Cuttings of basil quickly root in an inch or two of water and can be placed in potting soil, too.
Containers
Seed trays with many individual cells are handy for starting seeds. You can also use just about anything that has drainage holes in the bottom. Clear plastic food trays from take-home meals work as well as clean containers from cottage cheese, yogurt, sour cream, etc. Poke a few small drainage holes in the bottom and have a tray the “pots” can sit on to catch water.
Potting Mix
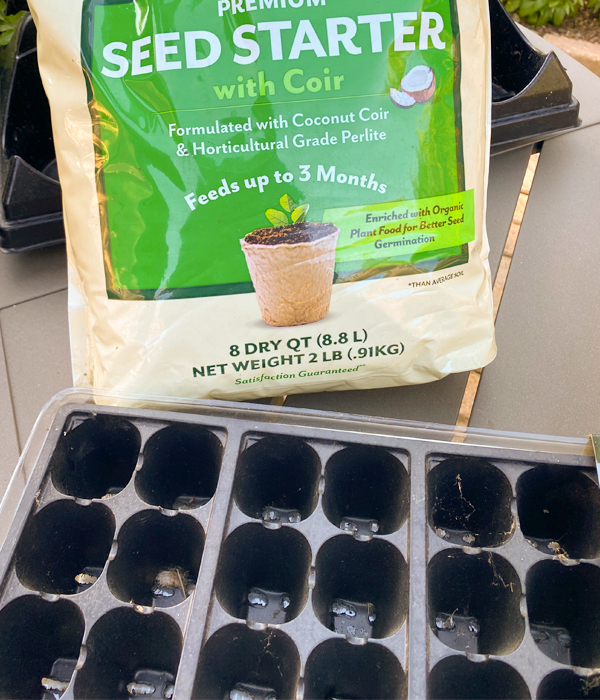
Seed-starting potting mixes are finely ground with peat moss and other soil-less media that aid in seed germination. When you’re ready to fill your seed trays or containers, wet the potting mix in the bag so it's slightly moist. Study the seed packet instructions for sowing depth. If the seeds are placed too deep, they won't germinate. Some very fine seeds, like those of lettuce, need light to germinate. I sprinkle them on top of the mix and then tamp them gently before I sprinkle a paper-thin layer of potting mix over them.
Spray Bottle
Rather than use a watering can, I prefer a spray bottle filled with warm or room temperature water to moisten the seed starting mix. This is particularly helpful once you’ve sown the seeds. A gentle spray keeps them in place rather than a dollop of water that can move them around before they germinate. A daily spritz is good because seed-starting mix tends to dry out quickly. Some seed trays have a plastic lid, which acts like a greenhouse, keeping the moisture in. Check the trays every few days and spray with water as needed.
Location
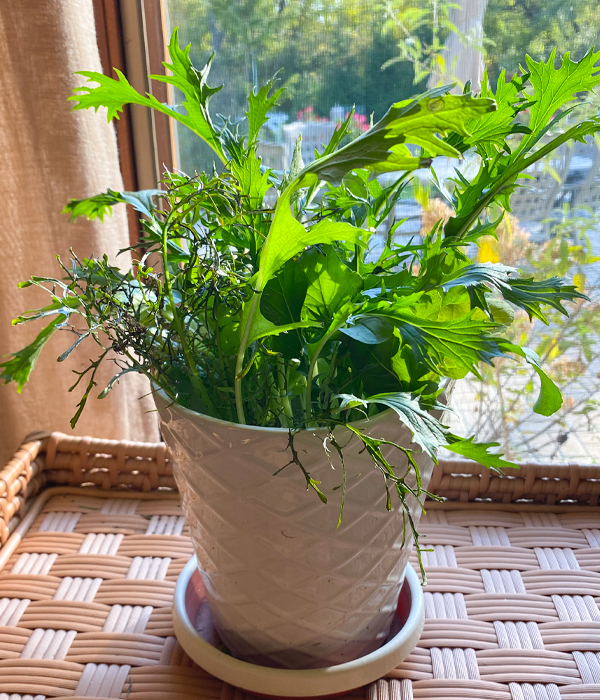
Seedlings need light and warmth. Place the seedlings where they will get the most sunlight—a south-facing window is good. Place the containers next to a bright sunny window or under grow lights (available at garden centers, home improvement stores, and online) for more consistent, even light. As we move closer to winter, sunlight becomes weaker and there's always the chance of dull, cloudy days, so supplemental light helps.
You can place grow lights under a kitchen cabinet. LED lights may cost a bit more, but if they’re on for 12 to 14 hours a day, they are less expensive to run than other types. Seedlings should be placed no more than about 4 inches below the light, and you’ll want to have the lights on for a good 12 hours each day. A special seed-starting heat mat can help move the germination process along, but it’s not critical.
Harvesting
Once the lettuce, spinach, or other greens are about 4 inches tall, you can start snipping the leaves and the plants will produce more. The same goes for the herbs. Keep the soil lightly moist. If you grow the plants near a windowsill, turn or rotate the containers every week so the foliage doesn’t lean to the light. The closer to the window, the better, but when the night temperatures drop, you’ll want to pull the containers away from the glass.
Grocery Garden
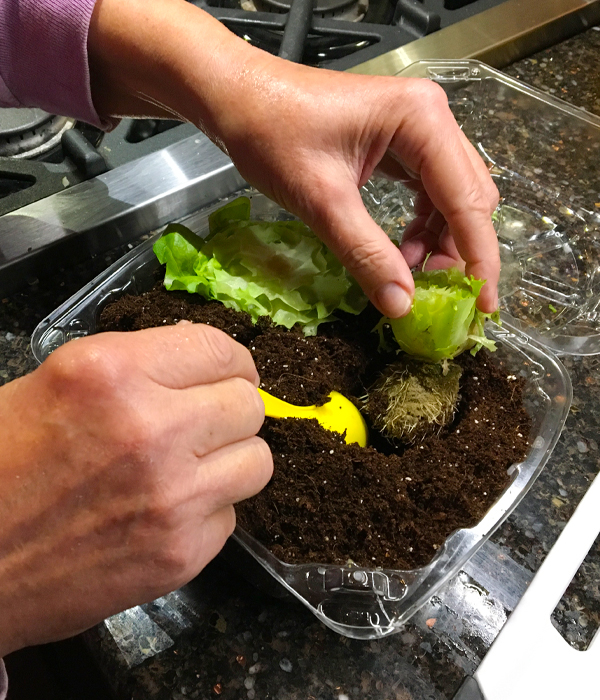
And here’s a fun fall project: re-growing store-bought heads of lettuce. I buy heads of leaf lettuce (butterhead) with the roots intact. Once I remove the upper leaves, I keep the roots with an inch or two of leaves. Plant them an inch or so deep in a container of potting mix and within a few weeks they’ve sprouted fresh leaves that can be harvested for a few weeks. It’s a great project for children.
Nina Koziol is a garden writer and horticulturist who lives and gardens in Palos Park, Illinois.