
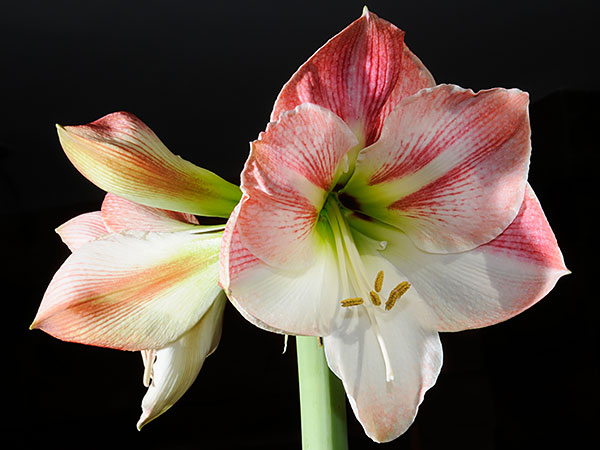
Continue to care for amaryllis following their flower display. Allow all stems to wither before cutting them off the bulb. Keep the pot in a bright, warm location, out of direct sun. Water the plant as needed. The green, strappy leaves will continue to grow. When all danger of frost has past, take the pot outside to the garden and keep it in a location protected from afternoon sun. Fertilize the bulb every 10 to 14 days with a liquid 10-10-10 or 15-15-15 mix. This fertilizer helps refuel the bulb for another season’s flower show.
In February many houseplants might show signs of stress caused by light deprivation, overwatering, insufficient humidity, and overheated indoor air. Stressed plants are more likely to develop insect and disease problems, so monitor your plants for early signs of trouble. New houseplants or gift plants may also harbor pests, and these plants should be isolated before joining other plants in your indoor garden. Pests to look out for include the following:
Spider mites — Look for webbing in leaf axils, stippled foliage and weak, off-color leaves. Mites are often difficult to see without a lens.
Scale — Characteristic sticky, clear honeydew is produced on leaves by these small, immobile, rounded insects usually found on stems and veins of leaves.
Mealybugs — Easy to spot, these insects resemble crowds of tiny cotton puffs.
Whitefly — Whiteflies are a major problem in many greenhouses because they can quickly move to neighboring plants. Look for tiny, white, mothlike insects often found on the undersides of leaves.
Fungus gnats — The adult black gnats fly around the plant but do no damage. The immature larvae in the moist soil can chew plant roots. They are often a problem in overwatered plants or overly moist flats of seedlings.
If winter sunlight has been minimal, foliage plants as well as herbs and all flowering plants might require artificial light to supplement the diminished natural sunlight. A light table would require two 40-watt fluorescent tubes, one cool and one warm, for every foot of shelf space filled with plants. Group plants with similar heights together so the fixtures can be placed just a few inches above the plants. Keep the lights on between 14 and 16 hours a day.
Continue to start seeds for spring- or summer-blooming annuals, vegetables, and perennials. Follow the directions on individual packets as to which types of seeds require bottom heat, light, or darkness to germinate. Some seeds might require a short period of chilling before being sown.
Sow seeds in fiber pots or trays using a premoistened soilless or seed-starting mix. Sow large seeds in slightly indented rows and cover them lightly with a thin layer of the mix. Finer seeds may be broadcast directly on top of the soil. Some types of seeds will require a glass or plastic cover to provide supplemental humidity. Water seeds from the bottom, or use a fine mister to keep the soil moist. To germinate, most seeds require a warm, bright location out of direct sun. Ventilate covered seeds daily, especially in bright conditions.
When germination occurs, gradually increase light levels. When two sets of true leaves develop, transplant small seedlings to a larger fiber pot that contains a slightly coarser "growing-on" mix. Continue to water from the bottom to encourage strong root development. Begin fertilizing with a quarter-strength 10-10-10 solution. As the plant grows larger, switch to a half-strength solution once a week.
Approximately seven to 10 days before setting out plants, harden them off by taking them outside for a few hours a day and back in again at night. Gradually increase the time spent outside until the plants are ready to be planted in containers, window boxes or directly into the garden.